

What really goes in to TV backlight repair?
Or, ‘Don’t look back(light) in anger.

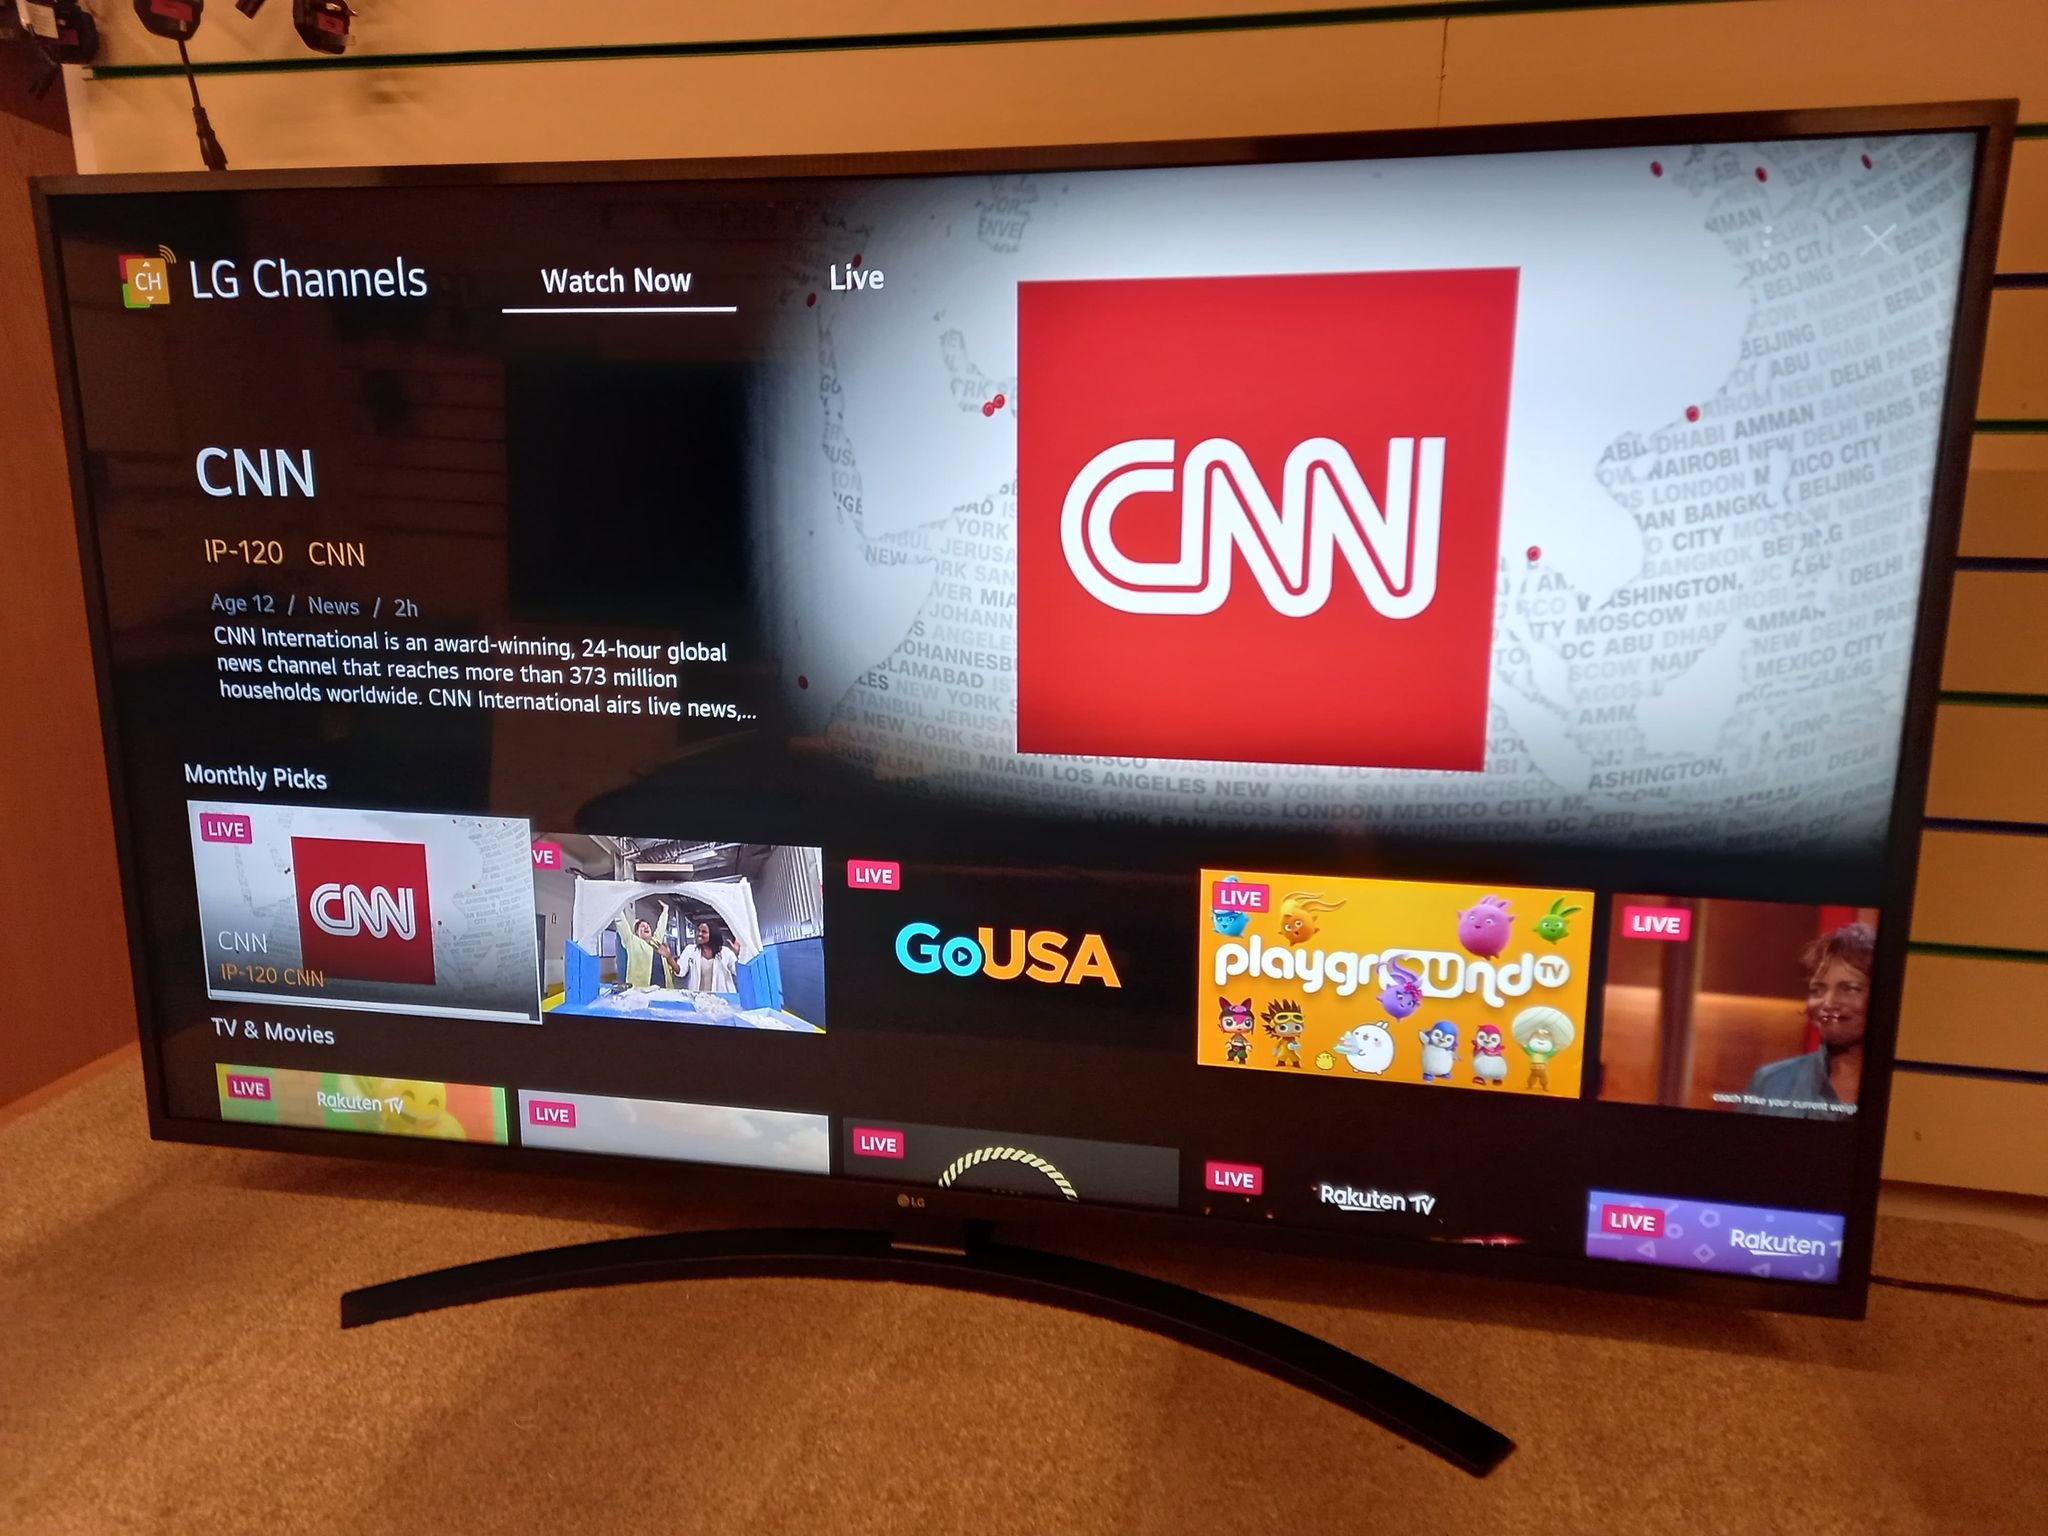
The recovered patient/fixed TV
By far the most common fault we currently see is failed TV LED backlights. This is typically shown by a set which has either no picture at all or is showing a blue or purple tinge to the colour. A full backlight replacement can extend your set’s lifespan and bring your picture quality back to what it was.
But what really goes in to replacing your set’s internal lighting array?
As an example we’re looking at a 55” 4K UHD LG set we worked on recently. As you can see the internal LED array was clearly displaying a vividly blue picture.
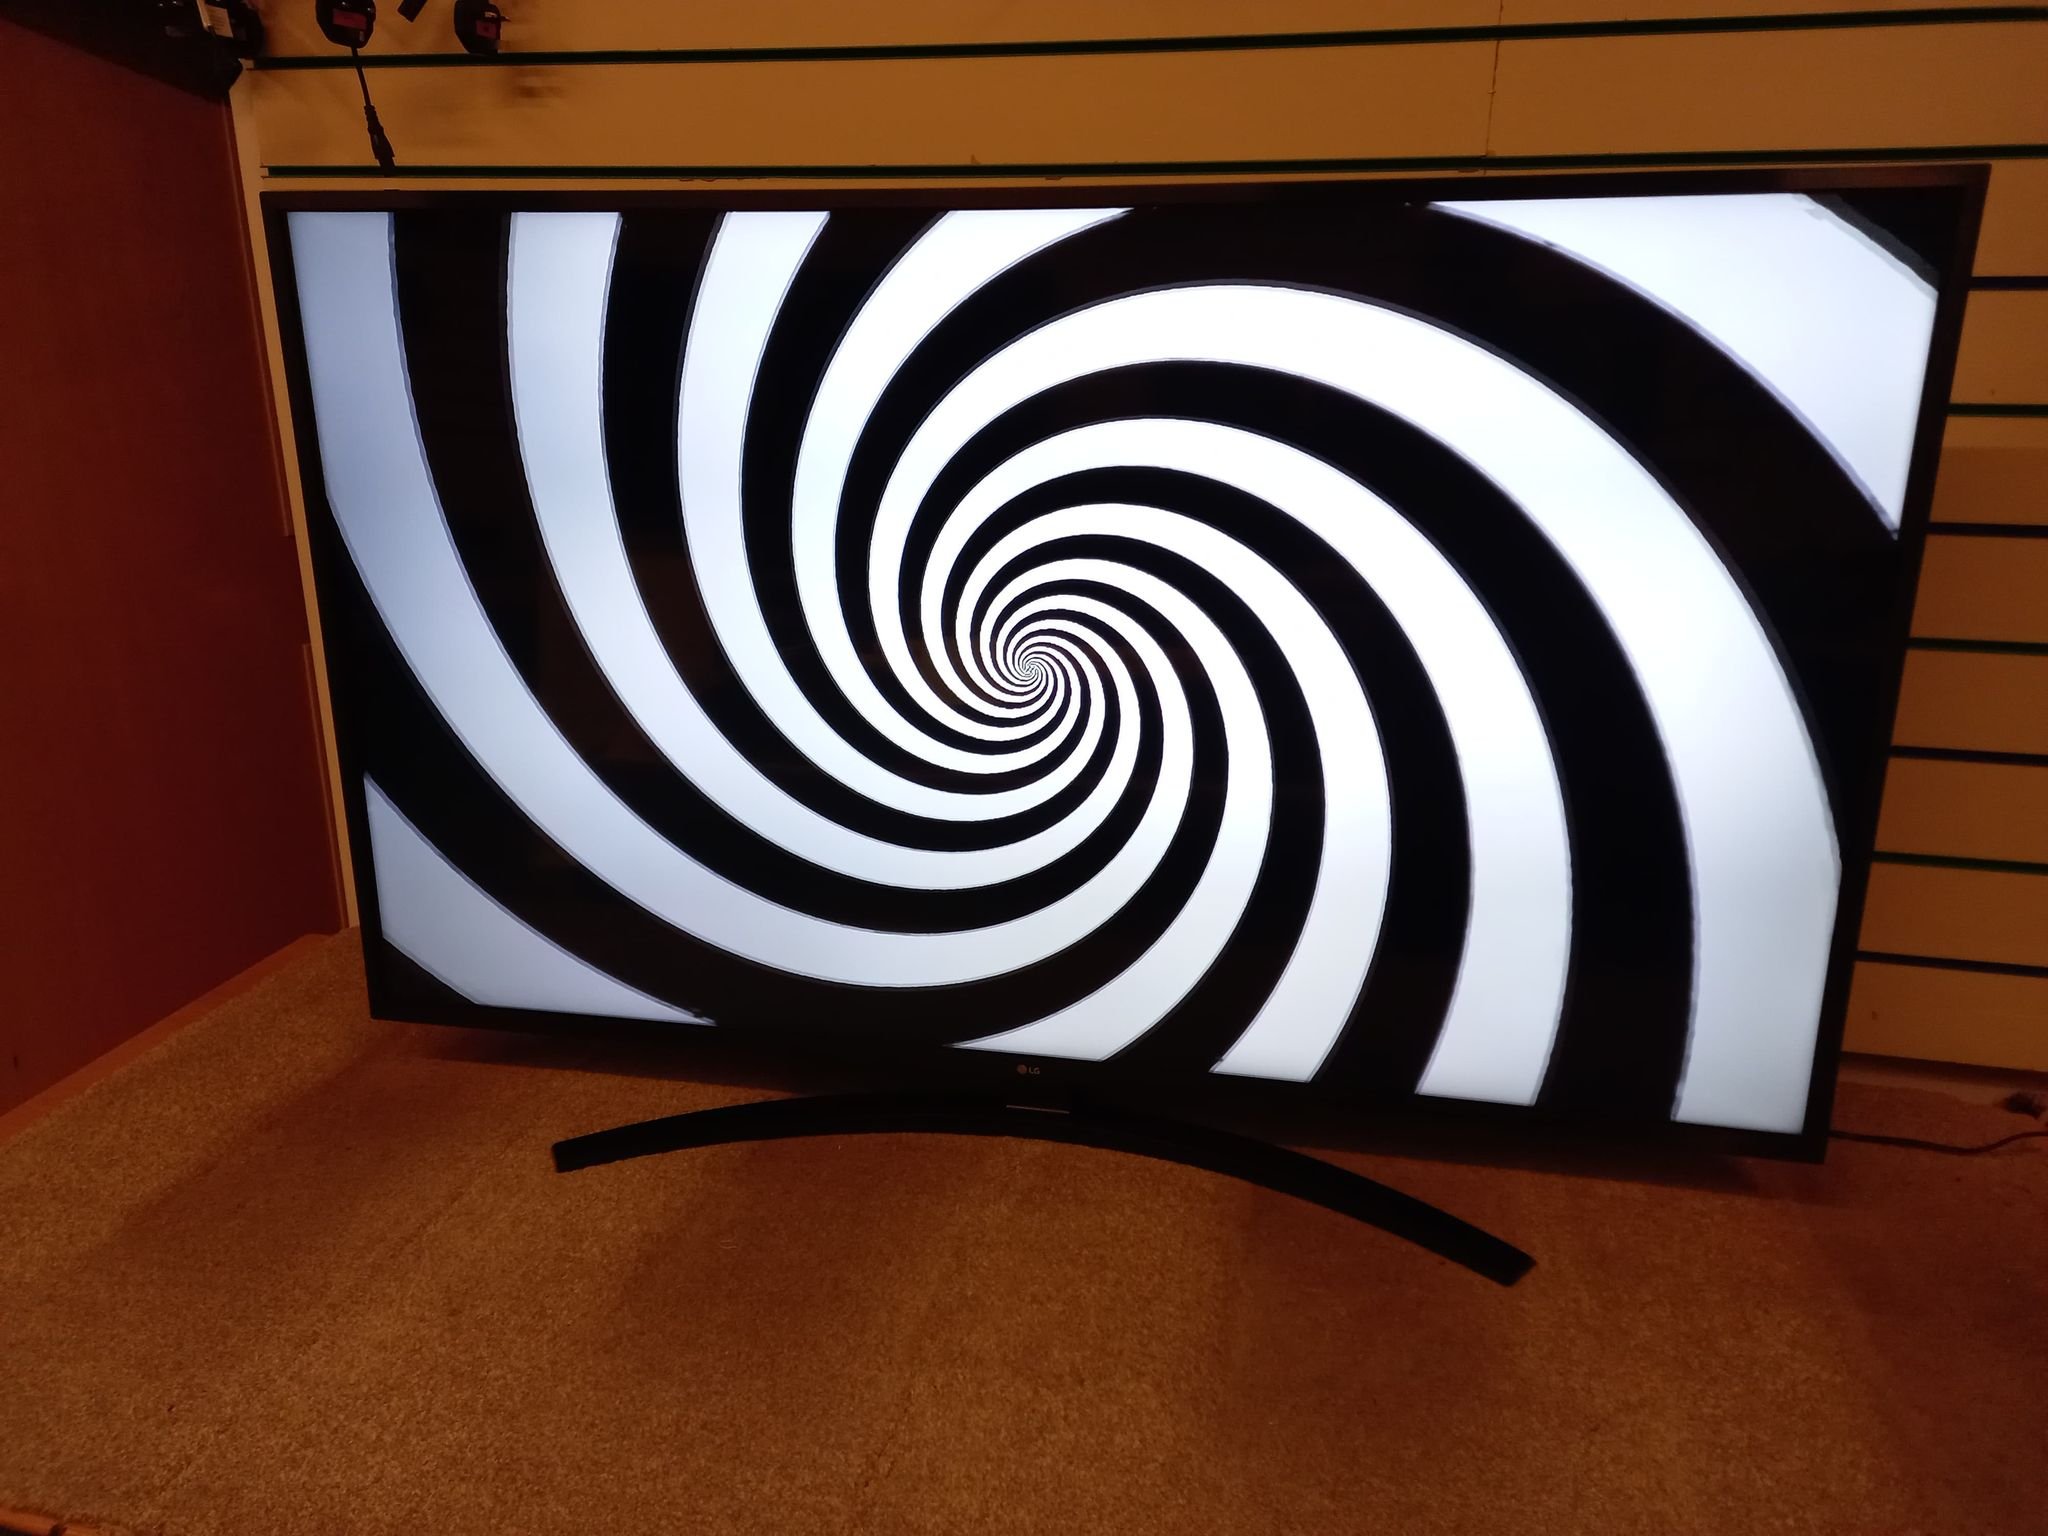
As LED TVs essentially work like projectors, they use bright white bulbs to illuminate the picture you see. You can actually check this by turning off yours lights during a film. You should see that your TV screen still gives out a soft light even when displaying a dark scenes or black images.
Top marks to the 4 white LEDs making a last stand…
So, here’s an abridged version of our running order for repair;
· Strip the rear casing (and internal panels if necessary)
· Delicately remove and store the screen itself
· Store the light filtering diffuser layers in a dust free cover
· Evenly peel back the rear filter sheeting.
· Remove, replace and align the new LED array.
· Finish cold coffee engineer forgot about while concentrating.

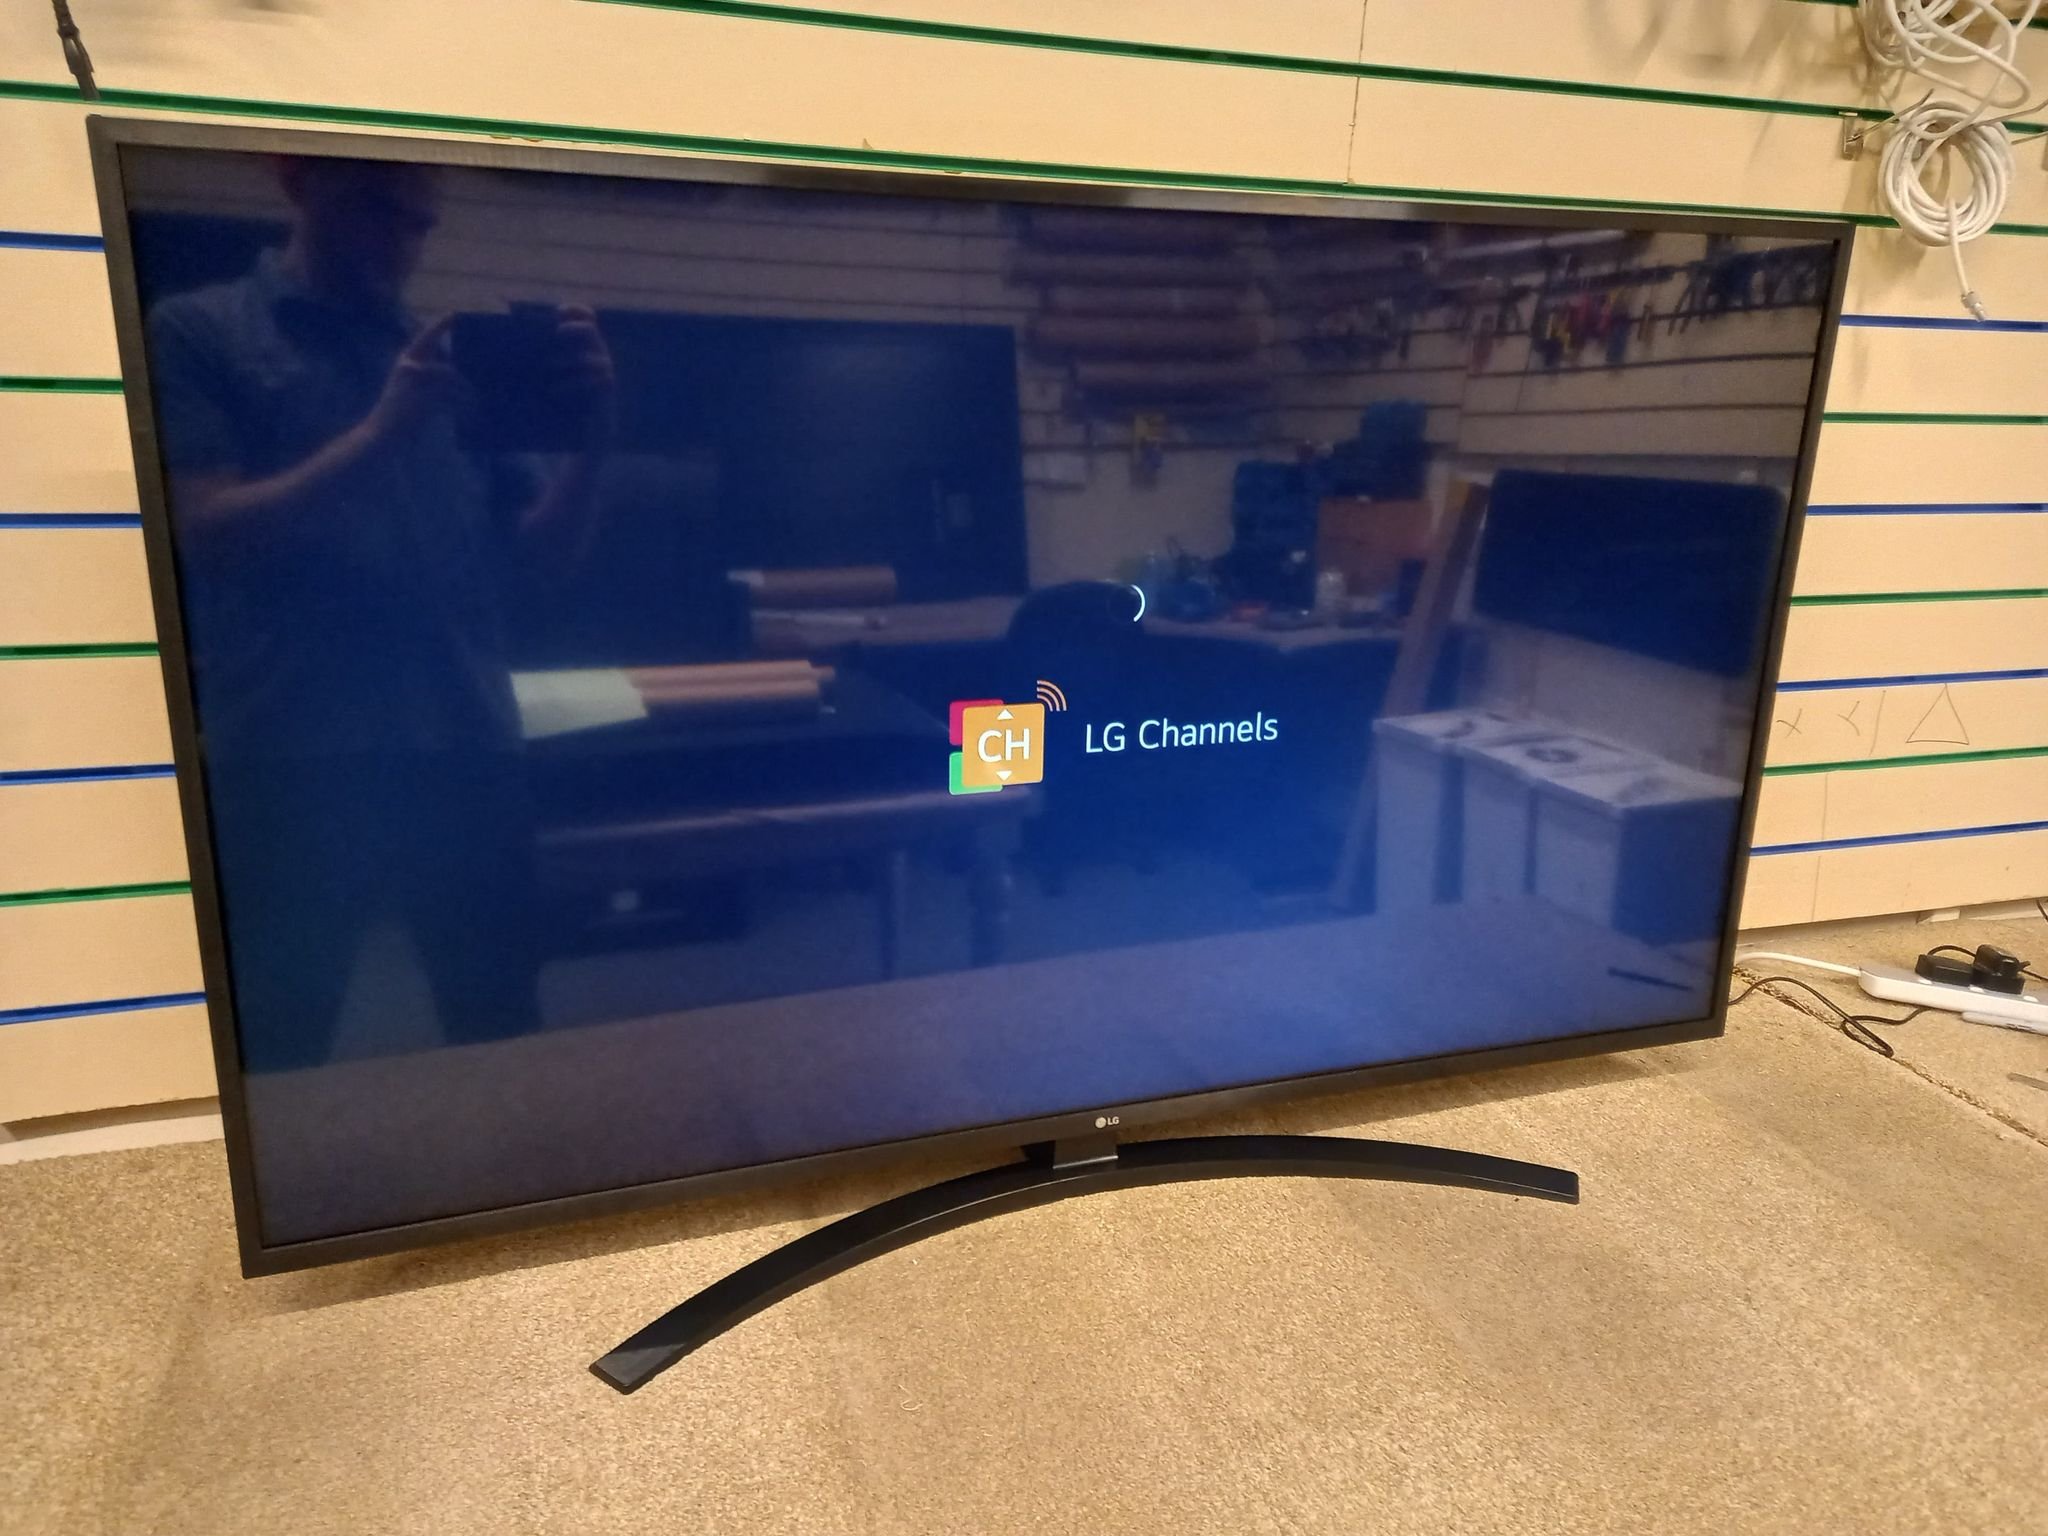
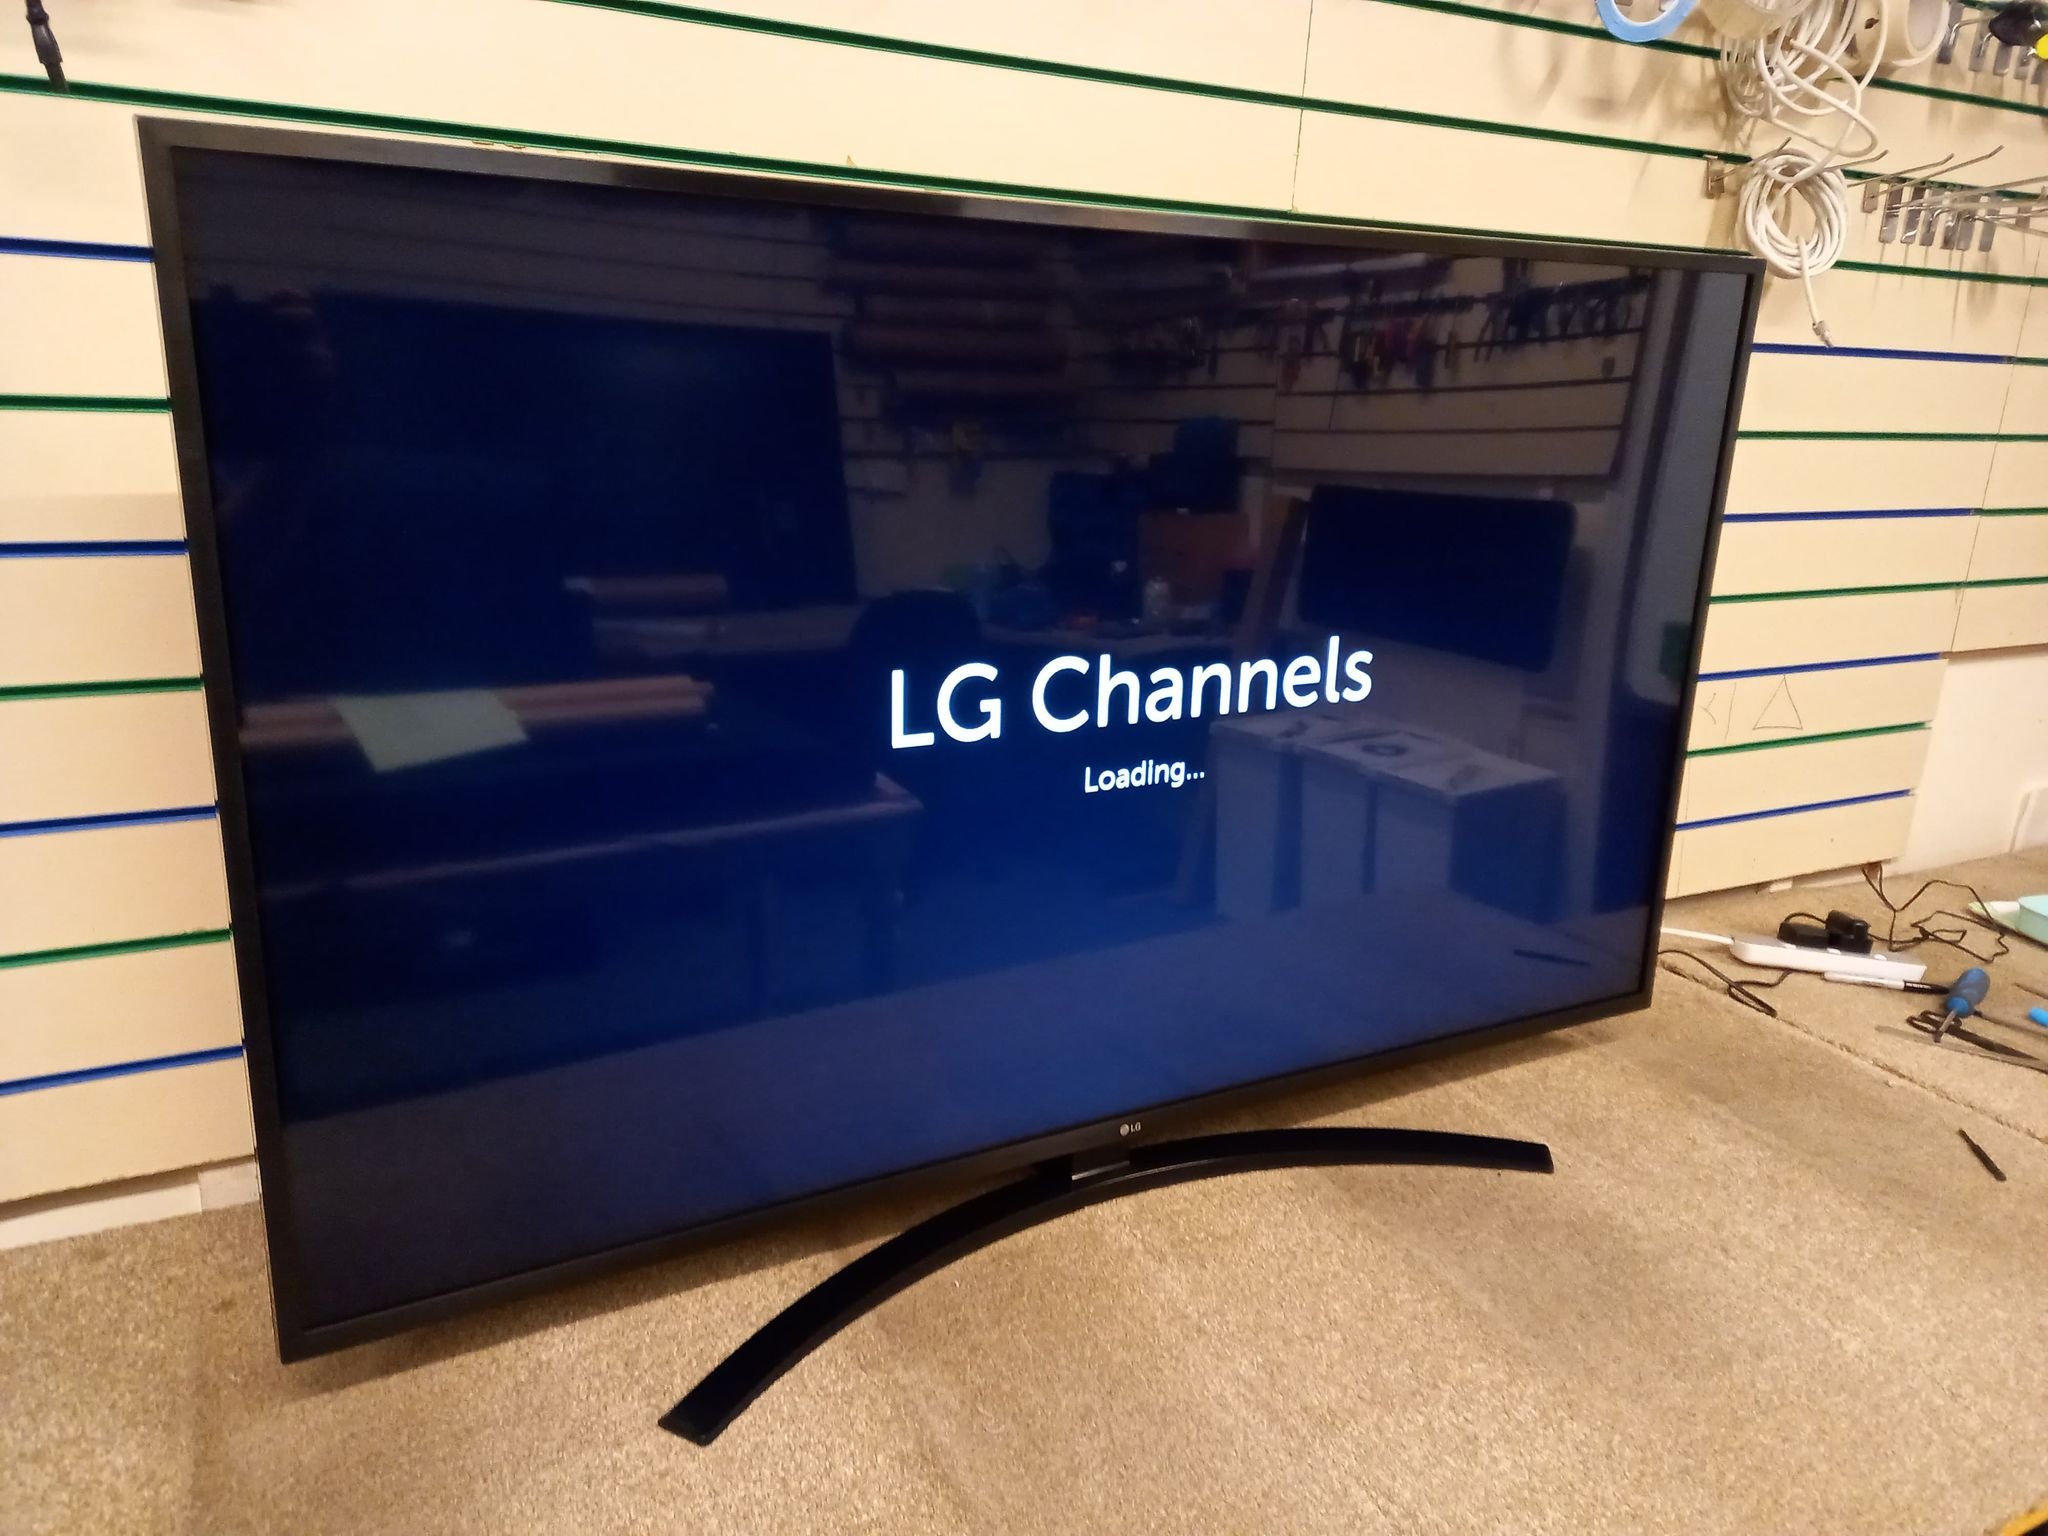
At last we saw the light…
Done properly this should result in a bright, clear white illumination.
Finally we assemble the set in reverse, calibrate the resulting image and alter the power output to extend the set’s lifespan; resulting in a clear, bright renewed picture.
As the technical term is a ‘Total Array Direct Alternative’ the engineer may say ‘TADA!’ at this point.
Resulting picture below;
But…what can (and sometimes does) go wrong?
Well in order of appearance here’s our top 5 issues with replacing backlights;
1. The screen! Of course at any point of removal (even down to the final overtightening or mistaking of screws in the frame) the screen can crack. Irreparable!
2. Lines! Mishandling the screen can result in the foil micro-connections becoming unbonded, leading to anything from pixel thin lines to no picture at all.
3. Glue! Some manufacturers like to glue their screens in place….we aren’t sure why but it certainly presents a challenge to removing it safely.
4. Marks! Dust, oils or anything between the screen and diffuser layers can result in dark, dirty marks left behind the picture. Likewise any rippling on the rear sheeting can cast shadows when in use. Easily caused issues but far more effort to remove and clean.
5. Mooning (not like that). Damaging the LED covers or incorrectly reinstalling the diffuser layers stops your TV from giving an even and uniform light. Instead each bulb can be seen, leaving tiny ‘moons’ across the picture.
Testing…it’s important
Always. Always. Always test from cold. A repair that’s done in a day quite simply cannot be as reliable as one that has been left to run warm and tested in a morning from cold. *Given the current cost of heating our workshops we’re considering testing from very cold going forward.*
a final note is that we regularly see backlights failing alongside, or due to, power supply issues. Testing to make sure all issues are properly identified, addressed and fixed let’s us have confidence in our backlight repairs.
For more information, or to book a repair, call, message or email today.